Generate API keys for Vercel projects
To set up your project on Vercel, follow the steps bellow:
Launch the complete Outstatic workflow with Pro. One
OUTSTATIC_API_KEYgives your site AI Completions, Member Management, Google Social Login and Email Sign-In, and Automatic Content Setup. Creating the key requires an active or trialing Pro subscription. For free self-hosting, configure your own GitHub OAuth app withOST_GITHUB_IDandOST_GITHUB_SECRETinstead. See Setting up GitHub authentication.
-
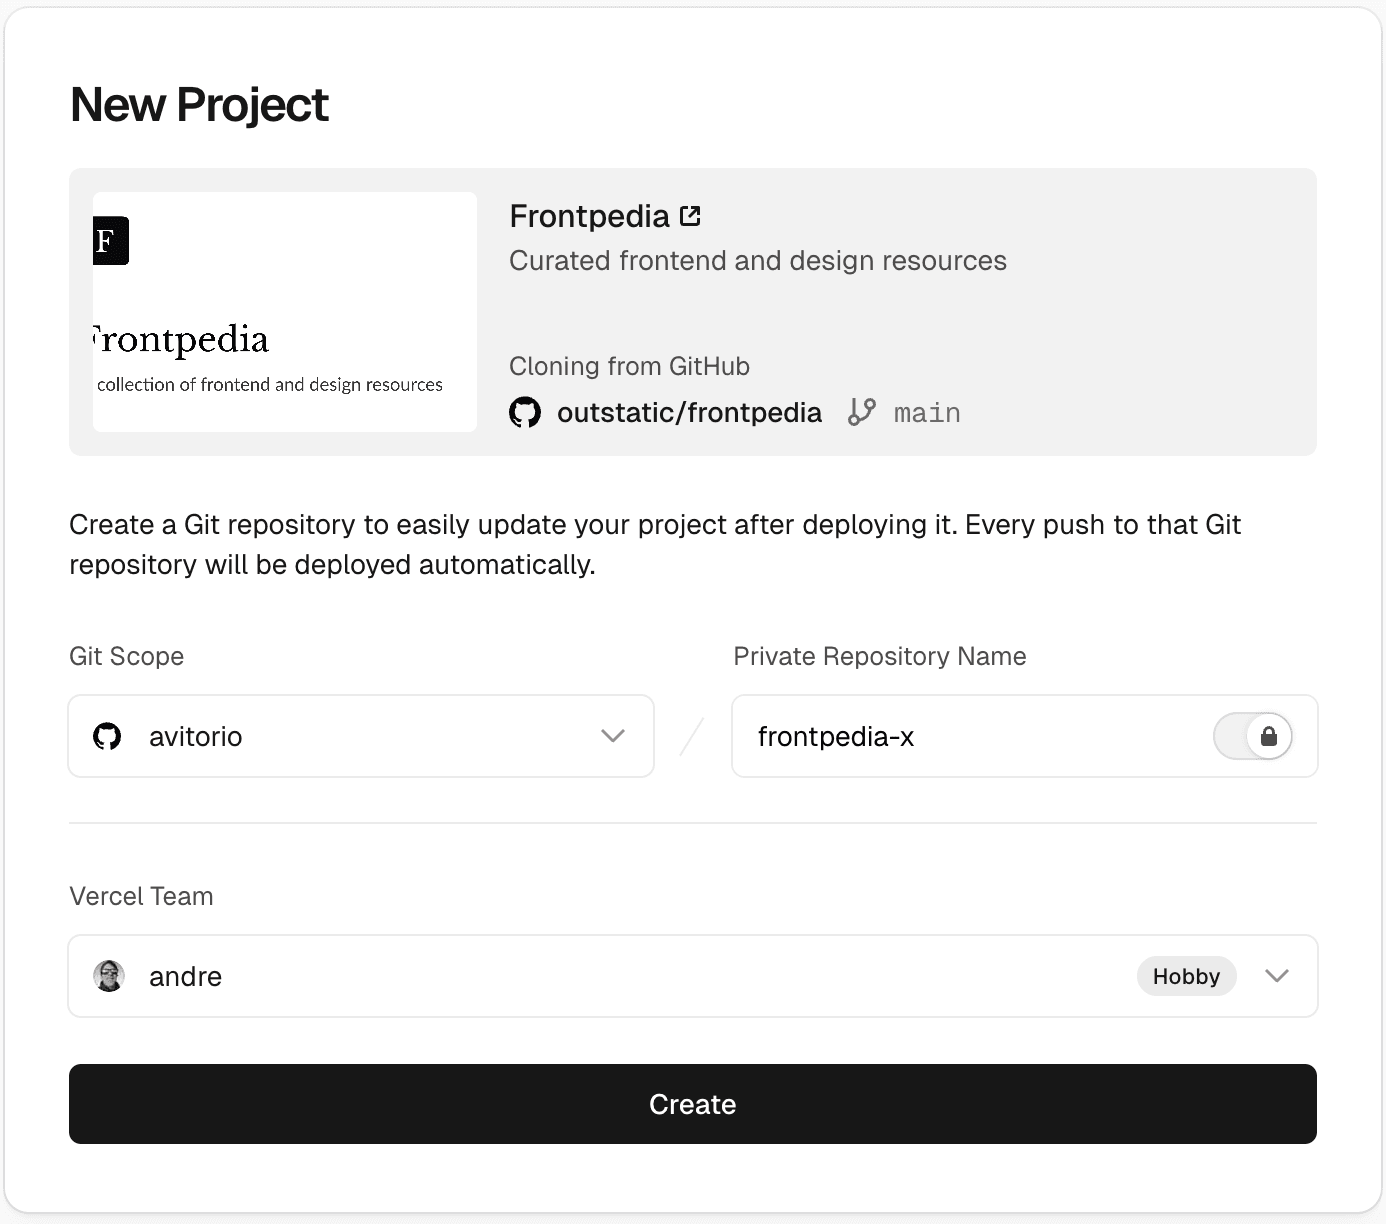
On the Deploy on Vercel page, name your repository and click on Create:
-
Create an account or Sign in to Outstatic with your GitHub account.
-
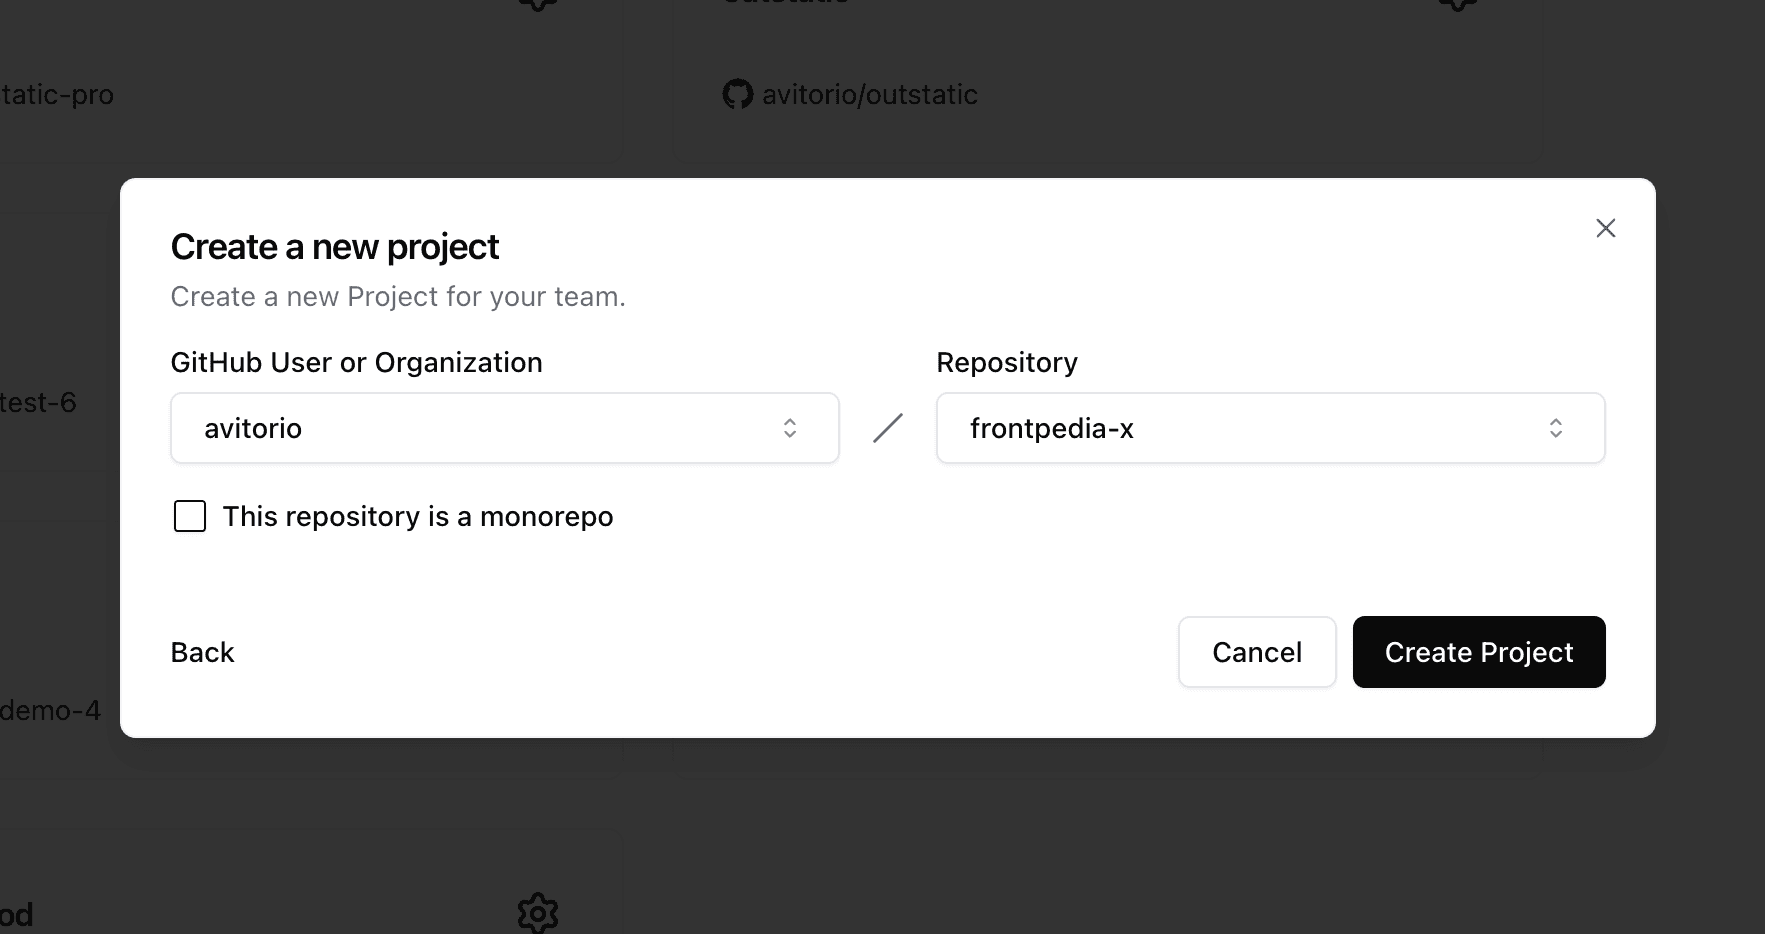
Create a new project by connecting it to the repository Vercel created on step 1.
- In your project page, find API Keys on the sidebar and click on it.
- Copy and paste the link below as your Callback Origin (we will change this later).
https://localhost:3000/outstatic- Click Add Origin.
- Click on Generate API Key and copy it. (Don't close this browser tab, we will return to it).
- Return to the Deploy on Vercel page. Paste the api key in the Add Environment Variables section and lick on Deploy.
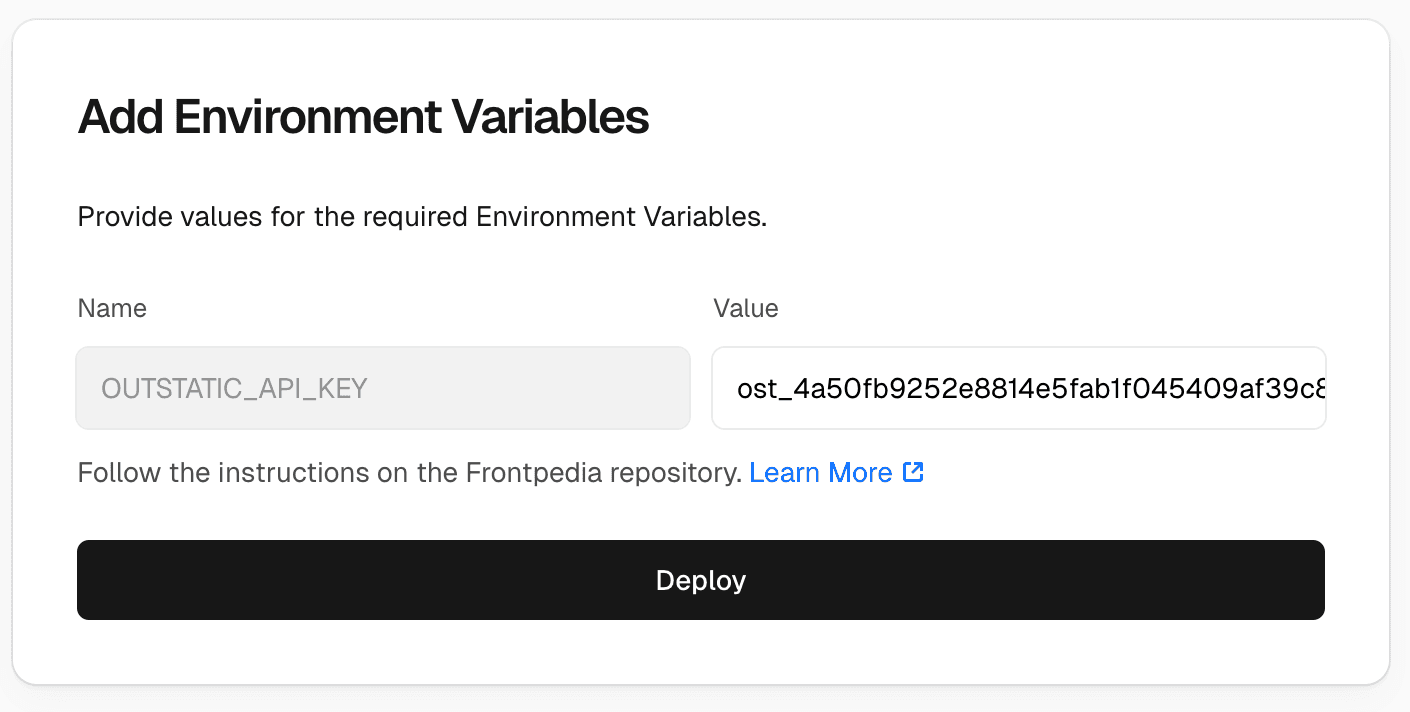
- Click on Deploy
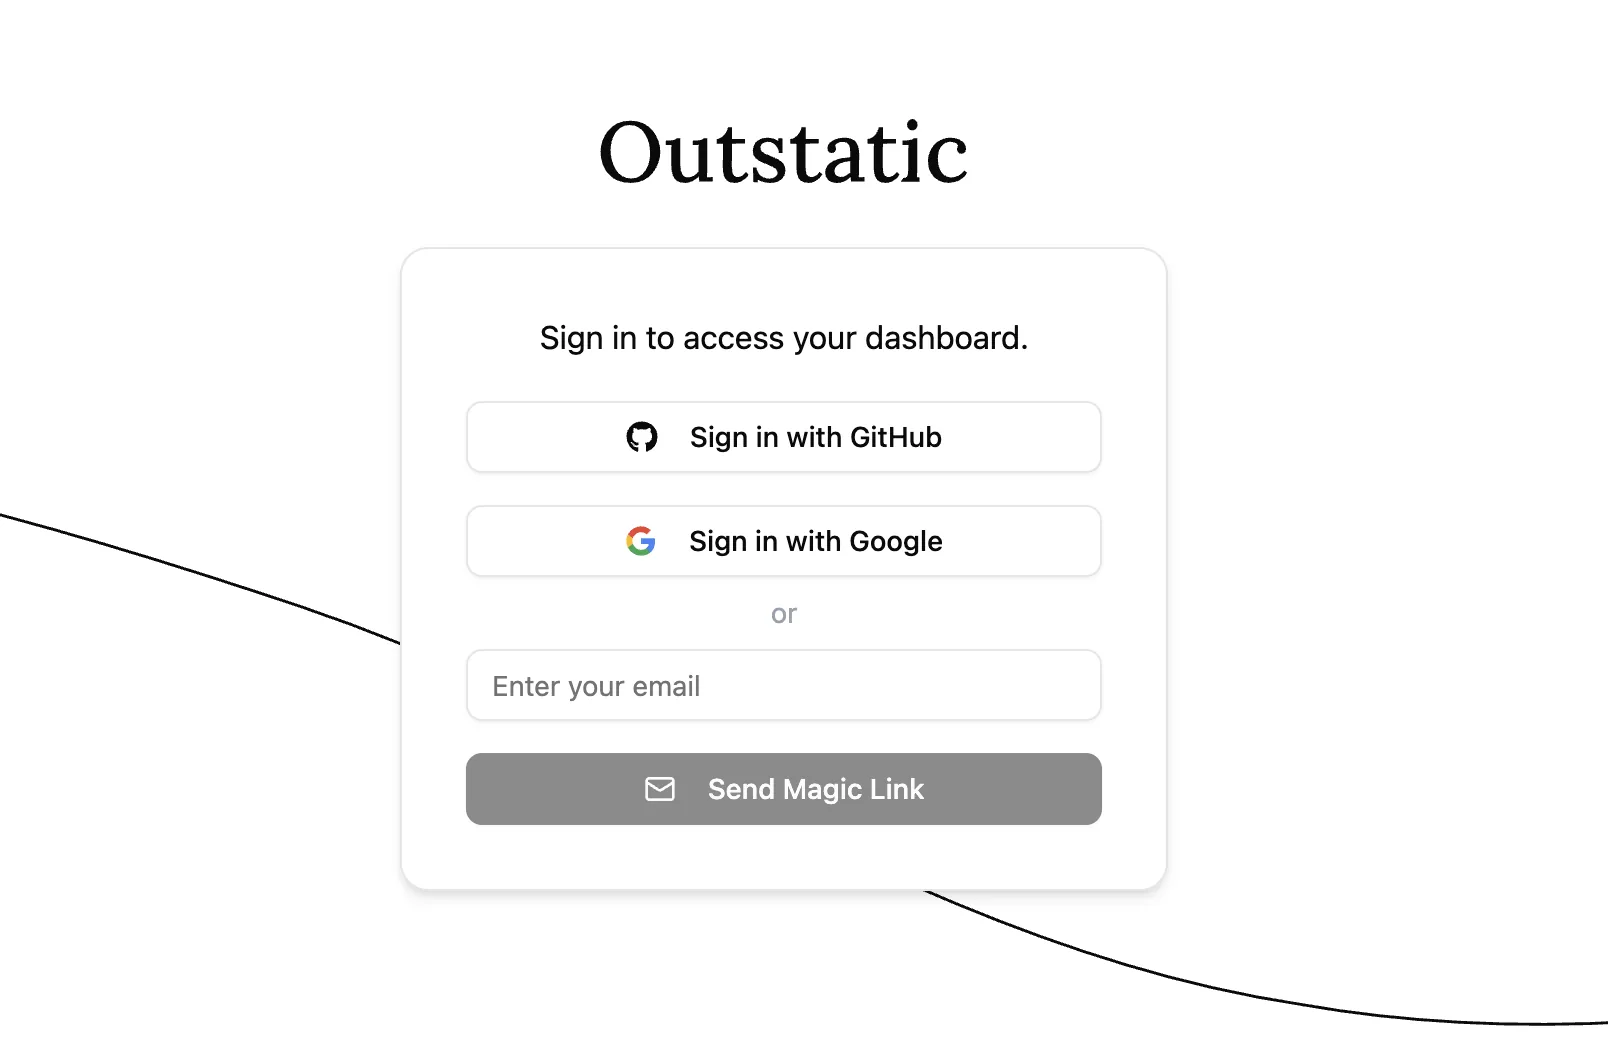
When the deploy finishes, open your site. To access the dashboard, add /outstatic to your site URL:
Example: https://myblog.vercel.app/outstatic
You should see this page:
- Now go back to API Keys in Outstatic and add the final production callback URL, ex:
https://myblog.vercel.app/outstatic - Return to
/outstatic, and click Sign in with GitHub again.
Congratulations! Now you have a website with a full-featured dashboard to edit your content.
To develop your Vercel deployed website locally, please check the Local Development page.
We recommend you learn how Outstatic manages content and also how to fetch content from your front end.