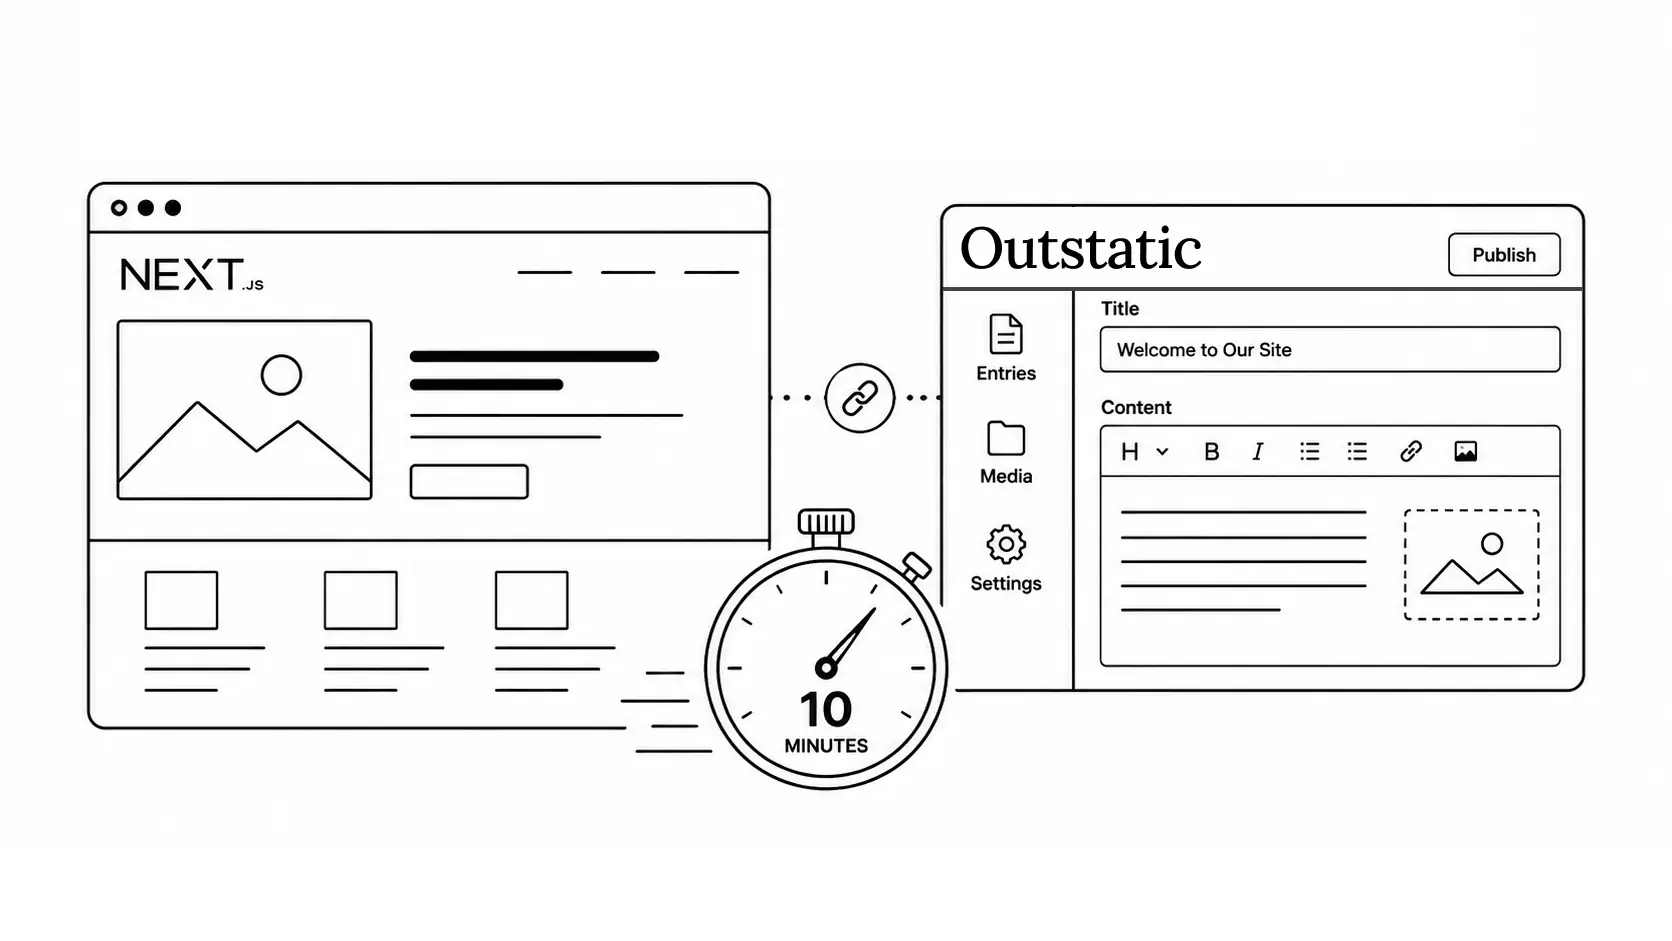
How to Add a CMS to Your Next.js Site in Under 10 Minutes
Step-by-step guide to adding Outstatic to your Next.js website so you can manage blog posts and pages without a traditional CMS.
Adding a CMS to a Next.js site usually means setting up a database, configuring an external service, managing API tokens, and wiring everything together manually.
Outstatic takes a simpler approach.
It stores your content as Markdown files inside your GitHub repository, so your posts and pages live alongside your code. You get a visual dashboard for editing content, but you do not need a traditional database-backed CMS.
In this guide, you will add Outstatic to a Next.js app, connect it to GitHub, create your first content structure, publish a post, and fetch that content in your Next.js pages.
What you need before starting
Before installing Outstatic, make sure you have:
- A Next.js project
- A GitHub repository for your site
- Access to edit environment variables
Starting with Outstatic 2.0, the recommended setup is to keep the Outstatic Dashboard separate from your main Next.js installation, then connect it to your app’s GitHub repository.
However, you can also run the Outstatic dashboard directly inside your Next.js app. That is the setup this guide covers.
Install Outstatic
Install Outstatic using your preferred package manager:
npm install outstaticOr:
yarn add outstaticpnpm install outstaticbun add outstaticOnce installed, you need to add the dashboard routes to your Next.js app.
We recommend placing Outstatic inside its own route group so your main app layout does not interfere with the dashboard.
Create this file:
// app/(cms)/layout.tsx

export default function RootLayout({ children }: { children: React.ReactNode }) {
  return (
    <html suppressHydrationWarning>
      <body id="outstatic">{children}</body>
    </html>
  )
}
Then create the Outstatic dashboard page:
// app/(cms)/outstatic/[[...ost]]/page.tsx

import 'outstatic/outstatic.css'
import { Outstatic } from 'outstatic'
import { OstClient } from 'outstatic/client'

export default async function Page({
  params,
}: {
  params: { ost?: string[] }
}) {
  const ostData = await Outstatic()
  return <OstClient ostData={ostData} params={params} />
}
Finally, add the Outstatic API route outside the route group:
// app/api/outstatic/[[...ost]]/route.ts

import { OutstaticApi } from 'outstatic'

export const GET = OutstaticApi.GET
export const POST = OutstaticApi.POST
Now start your development server:
npm run devOpen:
http://localhost:3000/outstaticYou should see the Outstatic sign-in screen.
Connect your GitHub repo
Outstatic stores your content as Markdown files in your GitHub repository.
The recommended way to sign in is with GitHub via Outstatic.
From the /outstatic dashboard, click Sign in with GitHub and follow the steps to create a free Outstatic account.
During setup, you will generate an API key for your project.
Copy the key and add it to your .env file:
OUTSTATIC_API_KEY=ost_******************************Then reload your /outstatic page and sign in again.
Once the API key is configured correctly, you will be able to access your dashboard and start managing content.
For deployed sites, you also need to add your live site URL as a callback origin. Open your Outstatic dashboard, go to API Keys, and add your production URL as a callback origin.
Then add the same OUTSTATIC_API_KEY to your deployed environment.
Create your collection
Outstatic organizes content into collections.
A collection is a group of related documents, such as:
- Blog posts
- Pages
- Case studies
- Changelog entries
- Documentation pages
For a basic blog, you can create a posts collection.
This gives editors a clear structure for each post while still keeping the actual content stored as Markdown in your repository.
You can also use singletons for unique pages like a homepage, about page, or settings page. Unlike collections, singletons are standalone content items.
Write and publish your first post
Once your posts collection is ready, create your first post from the Outstatic dashboard.
Add a title, slug, publish date, description, and content.
When you save or publish the post, Outstatic commits the Markdown file to your GitHub repository.
That means your content follows the same workflow as the rest of your site:
- Content is created in the dashboard
- The Markdown file is committed to GitHub
- Your site rebuilds and deploys
- The post becomes available on your website
There is no external database to manage.
Your repository remains the source of truth.
Fetch content in Next.js
Outstatic includes server-side utilities for fetching content in Next.js.
To fetch all posts from a collection, use getDocuments:
// app/posts/page.tsx

import { getDocuments } from 'outstatic/server'

export default async function PostsPage() {
  const posts = getDocuments('posts', [
    'title',
    'slug',
    'publishedAt',
    'description',
  ])

  return (
    <main>
      <h1>Blog</h1>

      {posts.map((post) => (
        <article key={post.slug}>
          <h2>{post.title}</h2>
          <p>{post.description}</p>
        </article>
      ))}
    </main>
  )
}
To fetch a single post by slug, use getDocumentBySlug:
// app/posts/[slug]/page.tsx

import { getDocumentBySlug, getDocumentSlugs } from 'outstatic/server'

export async function generateStaticParams() {
  const slugs = getDocumentSlugs('posts')

  return slugs.map((slug) => ({
    slug,
  }))
}

export default async function PostPage({
  params,
}: {
  params: { slug: string }
}) {
  const post = getDocumentBySlug('posts', params.slug, [
    'title',
    'publishedAt',
    'slug',
    'author',
    'content',
    'coverImage',
  ])

  return (
    <main>
      <h1>{post.title}</h1>
      <article>{post.content}</article>
    </main>
  )
}
Outstatic returns the content as Markdown. If you want to render it as HTML, you can convert it using a Markdown library such as remark.
For singleton pages, use getSingletonBySlug:
// app/page.tsx

import { getSingletonBySlug } from 'outstatic/server'

export default async function HomePage() {
  const home = getSingletonBySlug('home', [
    'title',
    'content',
    'description',
  ])

  return (
    <main>
      <h1>{home.title}</h1>
      <p>{home.description}</p>
    </main>
  )
}
For more advanced use cases, Outstatic also provides a metadata database through the load function. This lets you query, sort, skip, limit, and project fields from your content.
For example:
import { load } from 'outstatic/server'

const db = await load()

const posts = await db
  .find({
    collection: 'posts',
  })
  .project(['title', 'publishedAt', 'slug', 'author', 'coverImage'])
  .toArray()
This is useful when you need more control over filtering, pagination, or sorting.
Common setup mistakes
Here are a few common issues to avoid when adding Outstatic to a Next.js app.
Placing the dashboard inside your main app layout
Your main layout may include global styles, providers, navigation, or scripts that interfere with the Outstatic dashboard.
Use a separate route group like:
app/(cms)/outstaticThis keeps the dashboard isolated from your main site layout. Note that your main site should also be in a route group, like /(web) for example.
Adding the API route inside the route group
The dashboard page can live inside the (cms) route group, but the API route should live outside of it:
app/api/outstatic/[[...ost]]/route.tsForgetting the API key
If you sign in but cannot access your dashboard, make sure your .env file includes:
OUTSTATIC_API_KEY=ost_******************************After updating environment variables, restart your dev server.
Forgetting callback origins in production
If you want to access the dashboard from your live site, add your production URL as a callback origin in your Outstatic dashboard.
Then add the API key to your production environment variables.
Expecting a database
Outstatic does not work like a traditional CMS.
Your content is stored in your GitHub repository as Markdown. This is one of the main benefits: your content is portable, versioned, and lives with your code.
Rendering Markdown directly as HTML
Outstatic returns content as Markdown.
To render Markdown as HTML, use a Markdown processor like remark.
Try Outstatic free
Outstatic gives you a simple way to add a CMS to your Next.js site without setting up a database or relying on a traditional hosted CMS.
You get a visual editing dashboard, structured content, GitHub-based publishing, and Markdown files that stay inside your own repository.
Try Outstatic free and start managing your content in GitHub.