Using with Next.js 12
To use Outstatic with Next.js 12, using the /pages directory, you will need to use Outstatic with a version lower than v1.0.
First install the Outstatic package and dependencies:
# npm
npm install outstatic@<1.0

# yarn
yarn add outstatic@<1.0

#pnpm
pnpm install outstatic@<1.0
Then install some needed dependencies:
# npm
npm install @tiptap/pm

# yarn
yarn add @tiptap/pm

#pnpm
pnpm install @tiptap/pm
Once installed, you'll need to add two files to your /pages folder:
/pages/outstatic/[[...ost]].tsx
import 'outstatic/outstatic.css'
import { Outstatic, OstSSP } from 'outstatic'

export default Outstatic

export const getServerSideProps = OstSSP
And /pages/api/outstatic/[[...ost]].tsx
import { OutstaticApi } from 'outstatic'

export default OutstaticApi
Start your dev server. Assuming you're on http://localhost:3000 you can access your dashboard at https://localhost:3000/outstatic.
You should see this page:
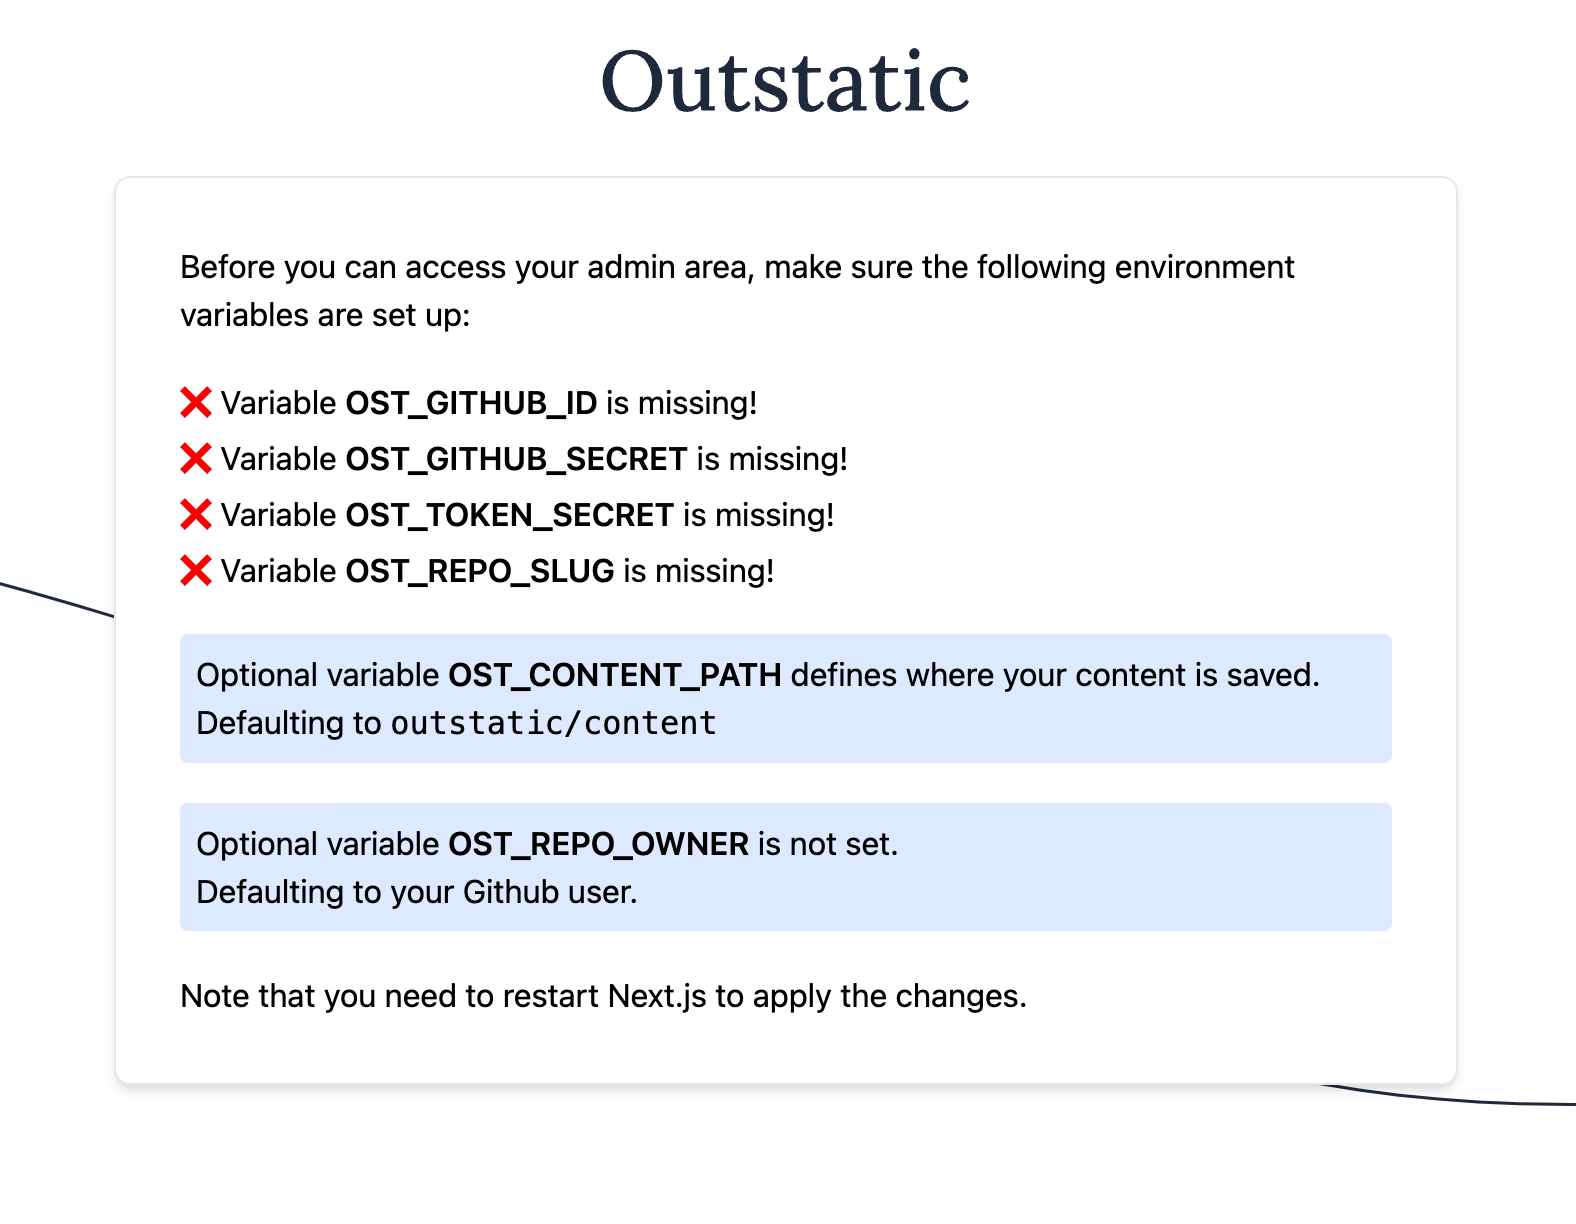 Let's update your environment variables.
OST_GITHUB_ID=YOUR_GITHUB_OAUTH_APP_ID
OST_GITHUB_SECRET=YOUR_GITHUB_OAUTH_APP_SECRET
# random string min 32 chars
OST_TOKEN_SECRET=A_RANDOM_TOKEN
OST_REPO_SLUG=YOUR_GITHUB_REPOSITORY_SLUG

# OPTIONAL
# If empty this will default to main
OST_REPO_BRANCH=YOUR_GITHUB_REPOSITORY_BRANCH
Now go back to your GitHub OAuth App settings page and update the following values:
-
Homepage URL:
http://localhost:3000/. -
Authorization callback URL:
http://localhost:3000/api/outstatic/callback
Click on Update application.
Restart your service and go back to the /outstatic page.
If everything is setup correctly, then you'll see a login page and will be able to access your Dashboard.
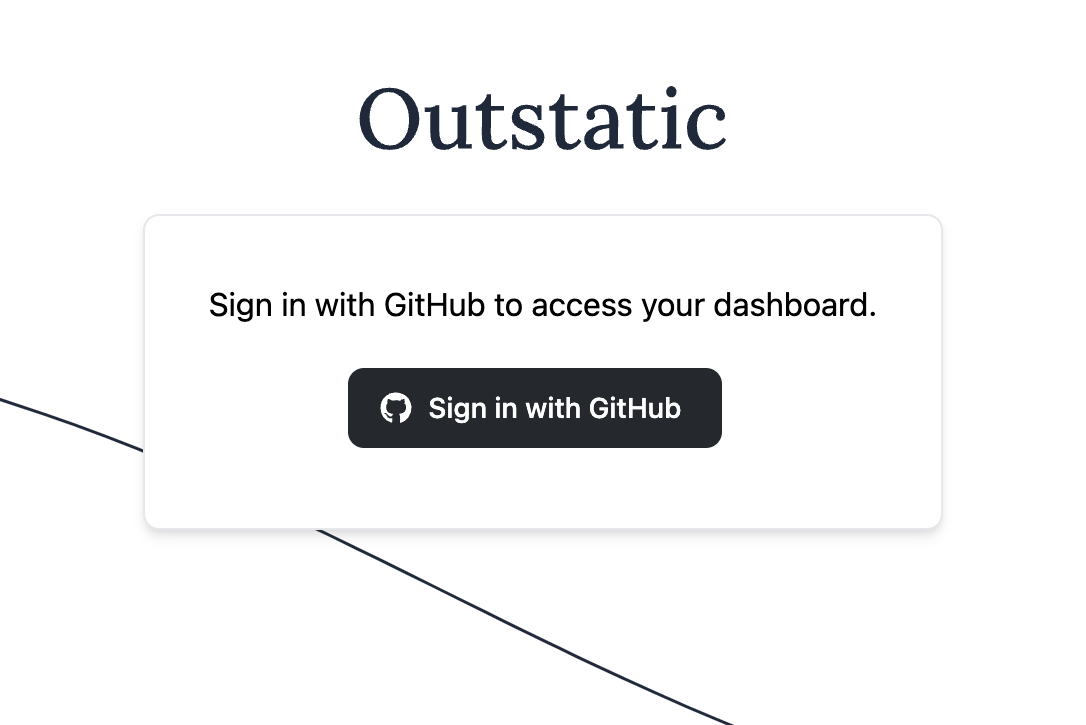
Congratulations! Your Outstatic installation is ready and you can now start creating content.
If you already have a Markdown Next.js blog and want to start editing your files with Outstatic, follow the steps here to move your content to the outstatic/content folder.
We recommend you learn how Outstatic manages content and also how to fetch data from your front end.
Access the Outstatic dashboard from your live site
If you also want to access your Outstatic dashboard from your live site you'll need to create a second GitHub OAuth app as GitHub doesn't allow for multiple callback urls for a single OAuth app.
Just repeat the steps for creating a GitHub OAuth app, but this time, replacing http://localhost:3000/ on Homepage URL and Authorization callback URL with your actual website address.
Don't forget to add the following environment variables to your Vercel project:
OST_GITHUB_ID=YOUR_GITHUB_OAUTH_APP_ID
OST_GITHUB_SECRET=YOUR_GITHUB_OAUTH_APP_SECRET
# random string min 32 chars
OST_TOKEN_SECRET=A_RANDOM_TOKEN
To learn more about all the available environment variables, see the Environment Variables section of the docs.