Deploy a website on Vercel
To deploy with Vercel, start by clicking the button below and follow the setup steps:
- Select GitHub as your Git service. Enter your repository name (for example,
outstatic-blog) and click Create. - After the repo is created, sign in to Outstatic.com and create a new project linked to that repository.
- In your Outstatic project, open API Keys and add this callback URL for now:
https://localhost:3000/outstatic - Generate an API Key. In Vercel, go to Add Environment Variables and paste the
ost_*****portion to the Value field:
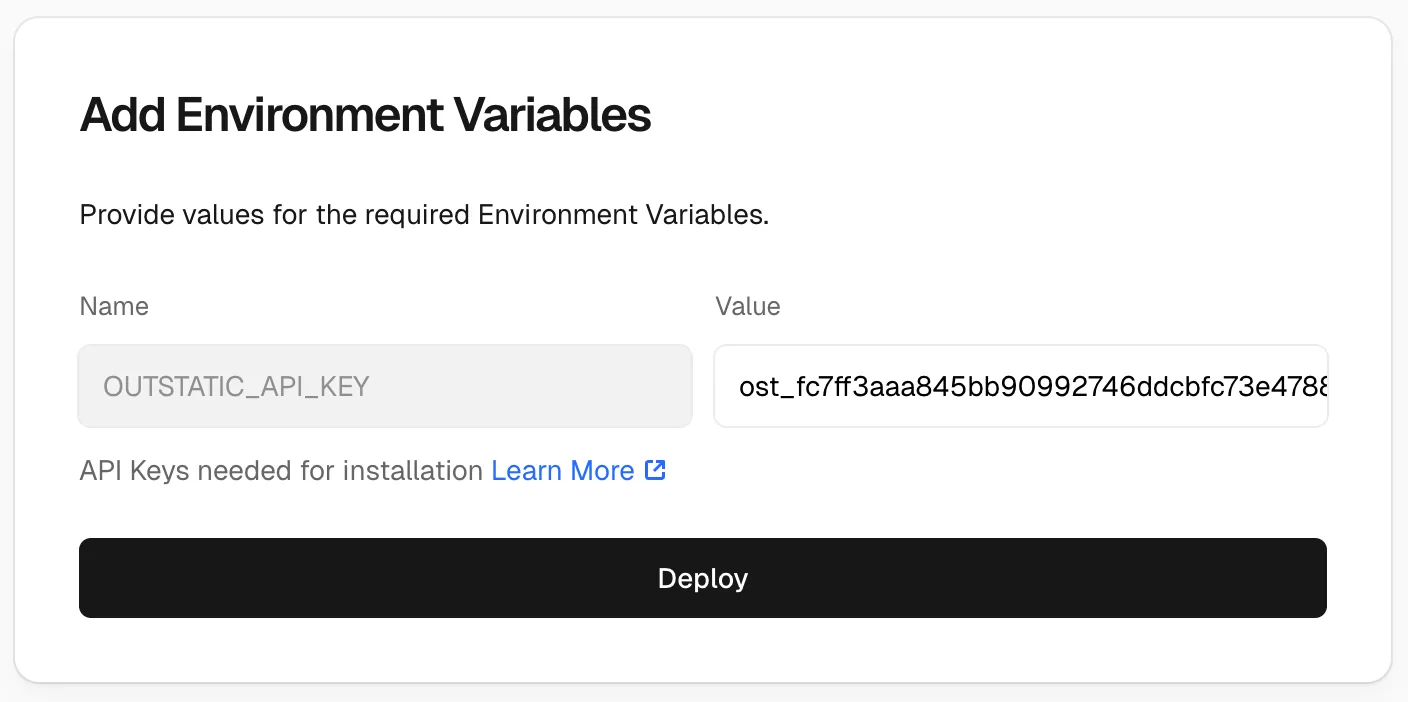
- Click deploy.
When the deploy finishes, open your site. To access the dashboard, add /outstatic to your site URL:
Example: https://myblog.vercel.app/outstatic
You should see this page:
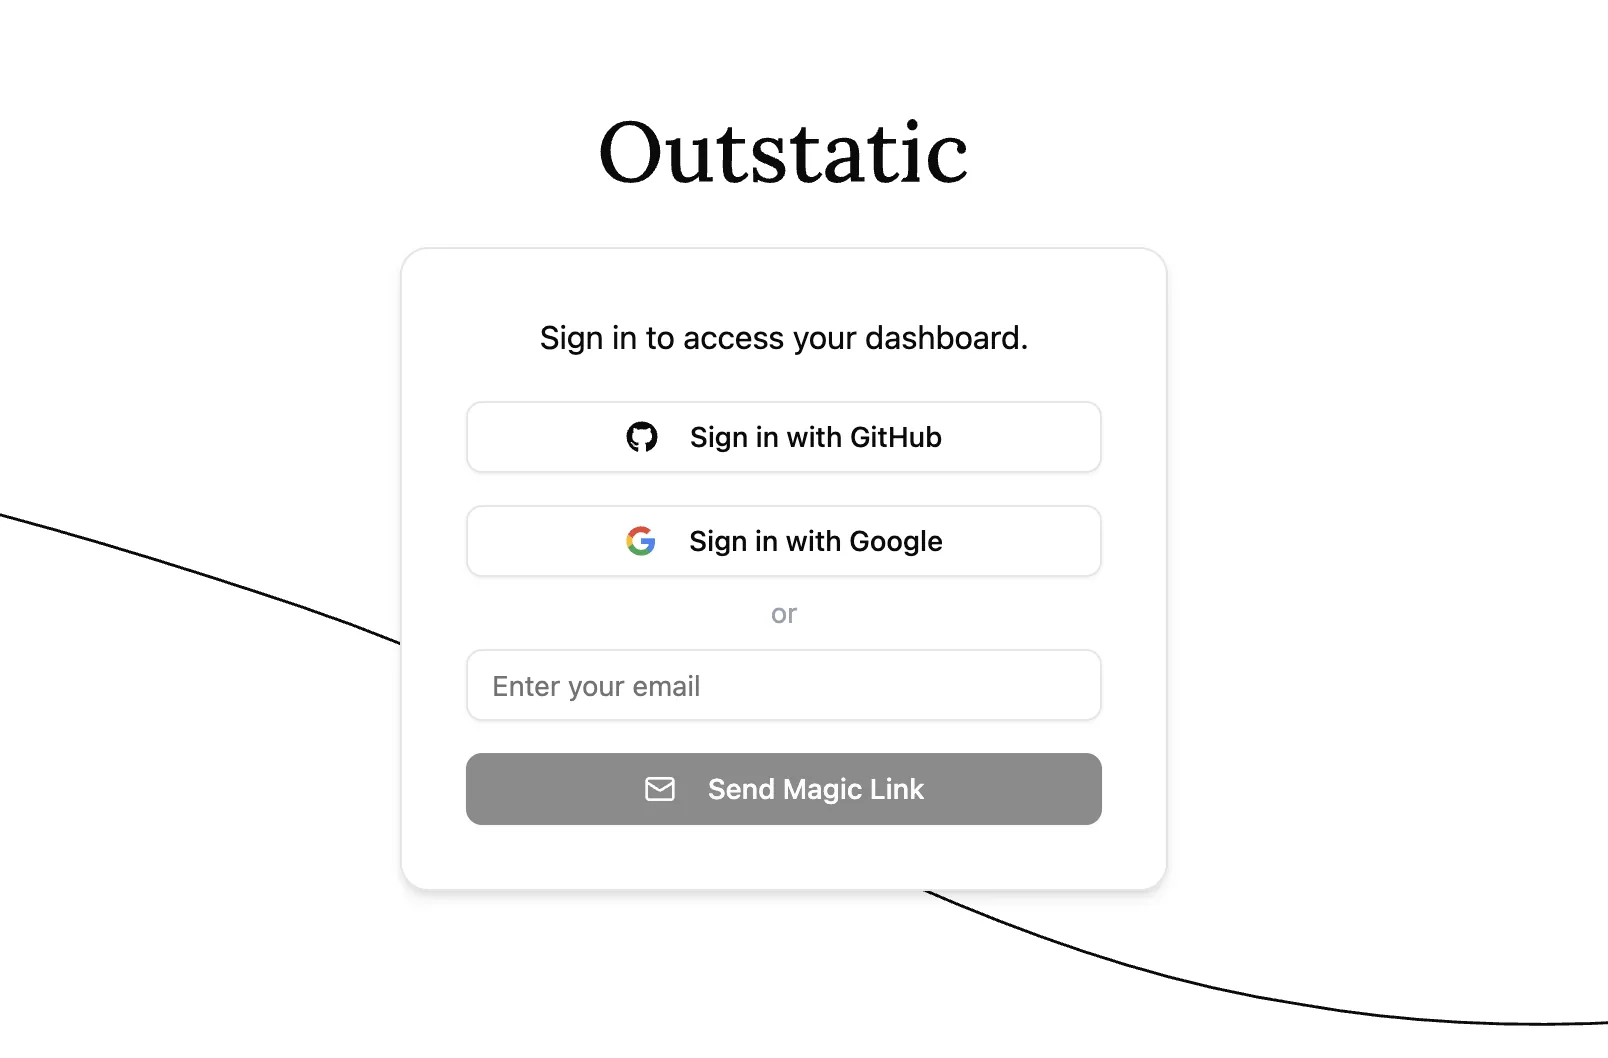
- Now go back to API Keys in Outstatic and add your production callback URL:
https://myblog.vercel.app/outstatic - Return to
/outstatic, and click Sign in with GitHub again.
Congratulations! Now you have a website with a full-featured dashboard to edit your content.
To develop your Vercel deployed website locally, please check the Local Development page.
We recommend you learn how Outstatic manages content and also how to fetch content from your front end.