Add Outstatic to Next.js
Note: This tutorial shows how to install Outstatic directly inside your existing Next.js app.
If you want to keep your Outstatic Dashboard separate from your Next.js app, follow this tutorial, then connect Outstatic to your app’s GitHub repository to manage content.
Your main Next.js app can still use Outstatic’s data fetching utilities as usual.
To run Outstatic inside your Next.js app, follow the steps below.
Add Outstatic to a Next.js app (App Router)
Before you start: Outstatic stores your content as Markdown files in your GitHub repository. Read the introduction to understand how the workflow works.
1. Install Outstatic
Choose one:
npm install outstaticyarn add outstaticpnpm install outstaticbun add outstatic2. Create the dashboard routes
Add these three files under /app. We recommend placing Outstatic in its own route group so root layouts are kept separate and won’t interfere with each other. In this example, the route group is (cms) and the dashboard lives at /outstatic.
/app/(cms)/layout.tsx
export default function RootLayout({ children }: { children: React.ReactNode }) {
  return (
    <html suppressHydrationWarning>
      <body id="outstatic">{children}</body>
    </html>
  )
}
/app/(cms)/outstatic/[[...ost]]/page.tsx
import 'outstatic/outstatic.css'
import { Outstatic } from 'outstatic'
import { OstClient } from 'outstatic/client'

export default async function Page({
  params,
}: {
  params: { ost?: string[] }
}) {
  const ostData = await Outstatic()
  return <OstClient ostData={ostData} params={params} />
}
/app/api/outstatic/[[...ost]]/route.ts (outside the route group)
import { OutstaticApi } from 'outstatic'

export const GET = OutstaticApi.GET
export const POST = OutstaticApi.POST
3. Run the app
Start your dev server. If you’re running on http://localhost:3000, open:
http://localhost:3000/outstatic
You should see the Outstatic sign-in screen.
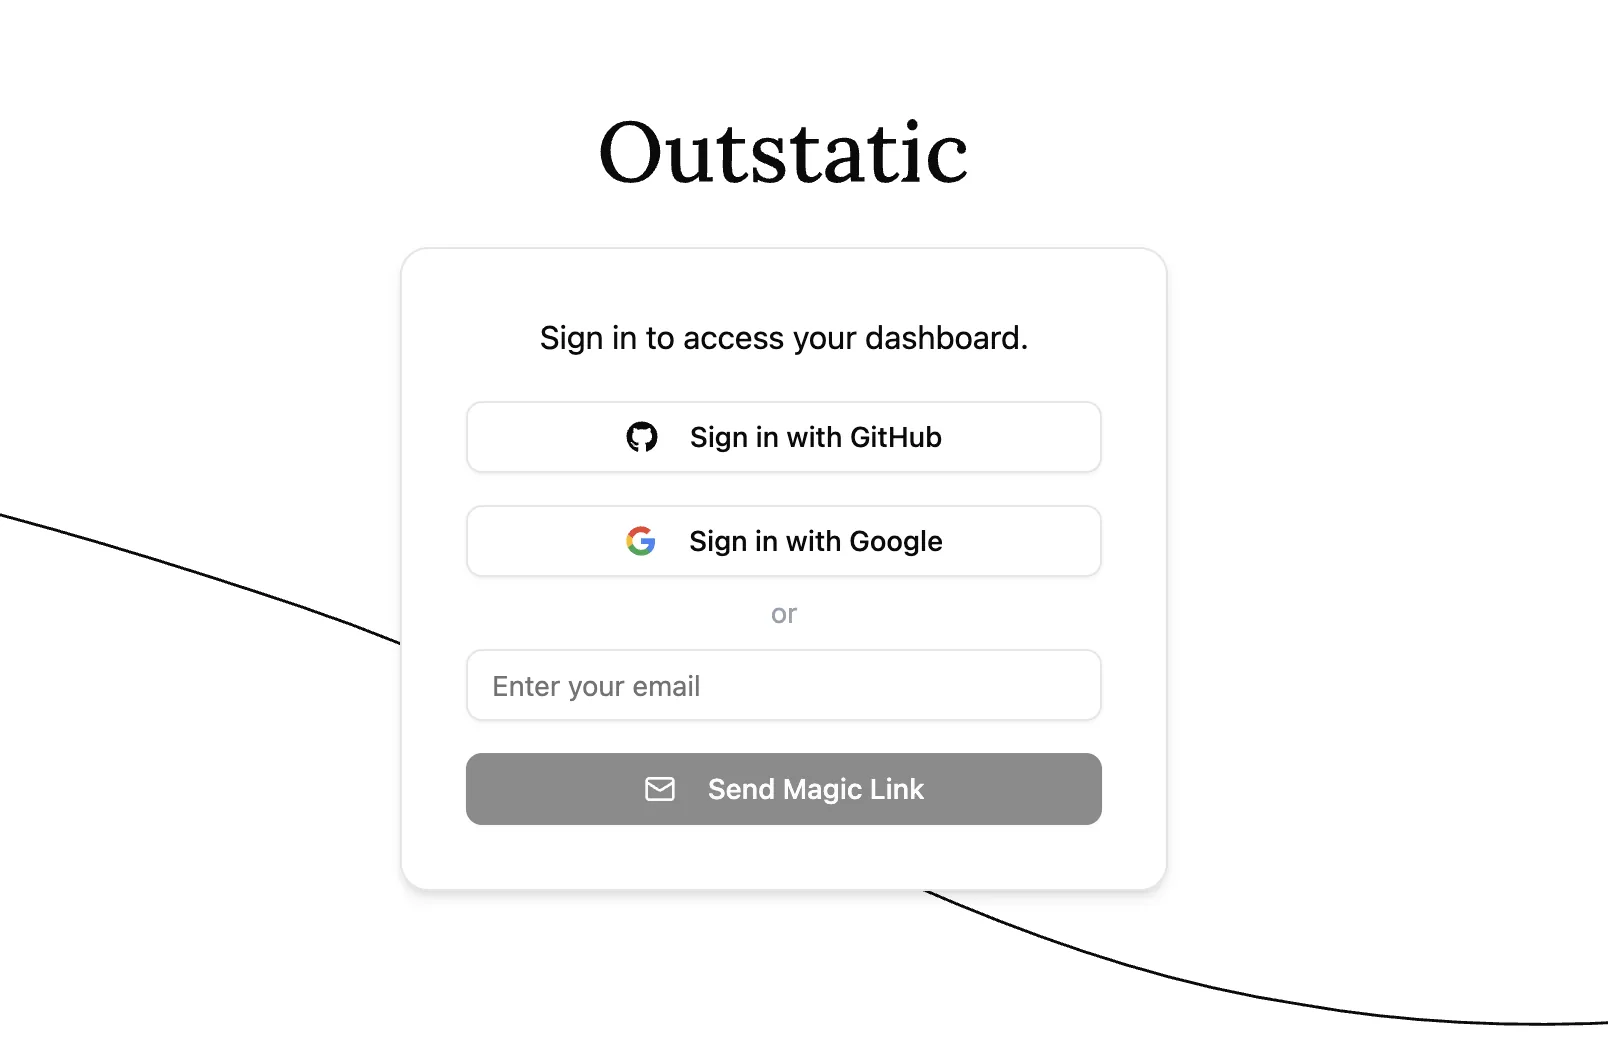
Sign in options
There are two ways you can access your dashboard. With GitHub via Outstatic (recommended), or using Github OAuth.
Accessing with GitHub via Outstatic (Recommended)
Click on Sign in with Github and follow the steps to create a free Outstatic account and generate an API key for your project.
Copy the OUTSTATIC_API_KEY and update your .env file.
OUTSTATIC_API_KEY=ost_******************************Now go back to the /outstatic page, reload it and click on Sign in with Github again.
If everything is setup correctly you'll be able to access your Dashboard.
Congratulations! Your Outstatic installation is ready and you can now start creating and editing content.
We recommend you learn how Outstatic manages content.
Accessing the Outstatic dashboard from your live site
If you want to access your Outstatic dashboard from a deployed site, open your Outstatic dashboard, go to API Keys in the sidebar, and add your site’s URL as a Callback Origin.
Then add the API key to the .env file in the environment where your site is deployed.
To learn more about all the available environment variables, see the Environment Variables section of the docs.